Logo
This extension requires Streamer.bot version 1.0.0. It's currently in beta and freely available to everyone. Here's how to get it

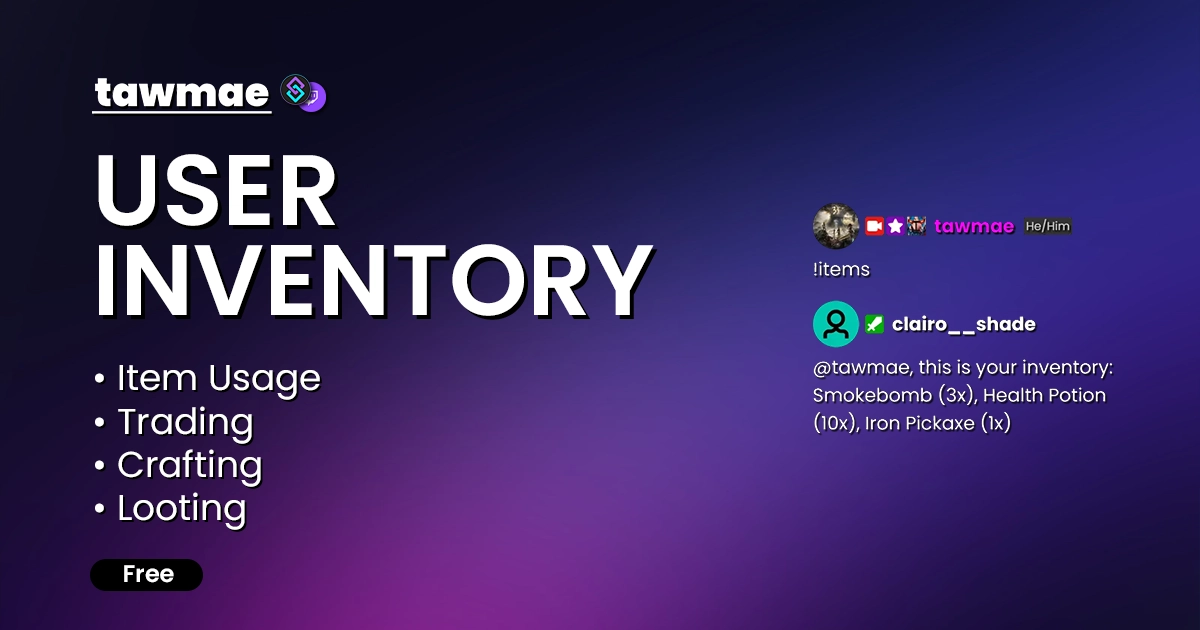
USER INVENTORY

Satisfy the desire to COLLECT and LOOT!

• Create custom items with custom item effects
• Create loot pools and allow for random drops with different rarities
• Add and remove items from user's inventories
• Have users trade items between one another
• Buy and sell items in combination with a currency system
• AND MORE! Check it out already!
Pog Clap

This extension requires a .dll file (TawmaeUI.dll) to run. You will be asked to have it automatically downloaded from my Github Repository to your Streamer.bot directory when you open the Settings UI, but you can also manually download it here. You can use tools like JetBrain dotPeek to check the .dll file's content.
ACTION IMPORT
Loading...
Never import actions from untrusted sources. Want to know what you are importing? Paste the import code in here (Decoder made by TakeJoshyy).
SETUP

1. Copy the Action Import text from above into your clipboard.

2. In Streamer.bot, click the Import button at the top of the window. Paste the text into the Import String section and press Import at the bottom.

3. Now head to the Commands tab and look for the imported commands. Then rightclick the group and select Group -> Enable All.

4. In the [USER INVENTORY] [#] Settings action, rightclick the Test trigger and hit Test Trigger to open the Settings UI once. This makes sure that the .dll file has been downloaded and is up to date.

If you don't have my .dll in your Streamer.bot directory already, it will ask you to automatically download it. If you wish to manually place it there, you can to that here.

5. In the Items tab, you can theoretically start to add your first items, assign their value (if wanted) and an action they trigger upon usage.

But other than that, you're essentially done!

COMMANDS

!addItem [User] [Item] <Amount (optional)>

Add an item to a user's inventory. The amount needs to be in angled brackets and is optional.

!removeItem [User] [Item] <Amount (optional)>

Remove an item from a user's inventory. The amount needs to be in angled brackets and is optional.

!inventory or !items

Post the content of your inventory to chat.

!useItem [Item] <Amount (optional)> @[targetUser (optional)]

Use an item in your inventory. The amount needs to be in angled brackets and is optional. If a user is targetted, it needs an @-symbol upfront, a target is optional. This will populate a variable %hasTarget% that is either 'True' or 'False'. And if 'True' also target user variables (%targerUser%, %targerUserName%, %targetUserId%). If the amount is greater than 1, the according action will be triggered as many times as the amount is.

!tradeItem [User] [Offered Item] <Offered Amount (optional)> | [Wanted Item] <Wanted Amount (optional)>

Offer an item trade to a user. Offered and wanted items are separated by a pipe symbol.

!checkOffers

Post a list of offers for you into chat.

!acceptTrade [User]

Accept a user's offer.

!rejectTrade [User]

Reject a user's offer.

!itemValue [Item]

Check the (currency) value of an item.

!sellItem [Item] <Amount (optional)>

Sell an item for currency points. The amount is optional and will multiply with its value.

!buyItem [Item] <Amount (optional)>

Buy an item for currency points. The amount is optional and will multiply with its value.

!itemList

Post all available items into chat. The 'Advanced' tab of the Settings UI allows to append their value to that list.

!itemDescription [Item]

Posts the item description to chat.

SETTINGS UI

The Settings UI allows for some customization.


General
In here, you can allow buying, selling, trading, multiple item usage or response types.

Items
This tab allows you to define your items. Create items, name them,give them a description and currency value for selling (if wanted) and assign the action they're supposed to trigger when used. You can also decide whether to exclude them from sale, purchase or usage.

Loot Tables
This tab allows you to create different loot tables. Give them a name and assign items you have created in the 'Items' tab. Give them an amount and a probability to get looted. Make sure the probability adds up to 100% for all items in a loot table. You can then use the [USER INVENTORY] [L] 1 - Loot Random Item action for people to be able to loot something off a loot pool.

Advanced
The advanced tab allows to rename your currency global variable name and chat name. Also if you used my old inventory extension, you can convert your old items to the new system. Also a reset button in case you want to reset all items.

Chat Responses
Chat Responses to customize. You can make use of all available variables listed below each message. If you don't want a message to appear, just enter a single hyphen (-) as the message.

FAQ & EXAMPLES

How do I add a specific item with other triggers than the '!addItem' command?

1. Create a new action.
2. Create three new subactions: Core → Arguments → Set Argument. Check the [USER INVENTORY] [M] 1 - Add Item action what those arguments are called: targetUserName, itemName and itemAmount.
3. In our example, we still use a command, but one any user can trigger: '!potion'. That command should give them 5 Health Potions. This can be any trigger you want though.
4. So the Value for targetUserName will just be %userName%, because the redeemer is also our receiving target. Our itemName is Health Potion and our itemAmount is 5.
5. Create a new subaction: Core → Actions → Run Action and place it below the Set Argument subactions.
6. Select the action [USER INVENTORY] [M] 1 - Add Item and check Run Action Immediately.
7. Done.


How do I create an item effect?

1. In our example, we want to create an item called Smoke Bomb. Upon using it, the Twitch chat will be cleared.
2. Create a new action, name it something your will easily recognize, for example Item Effect: Smoke Bomb.
3. We don't need any trigger, because using the item will trigger the action. So just leave the trigger section empty.
5. As for our subaction, we wanted to clear the Twitch chat, so we just create a new subaction: Twitch → Chat → Clear Chat Messages. Nothing else required, our action is done.
6. Now open the Settings UI and head to the Items tab. Create the item Smoke Bomb, give it a value if you want and then select the action we have just created.
7. Save and then you are done. You can now use '!useItem Smoke Bomb' to clear your chat.


How do I create an item effect with a targetted user?

1. The procedure is exactly the same as creating a non-targetted item effect. Create a new action, name it something your will easily recognize, for example Item Effect: Rusty Dagger. No triggers required.
2. When using an item with a targetted user '!useItem Rusty Dagger @tawmae', the action will populate a variable %hasTarget% that can be either True or False. If it is True, it will also populate target user variables: %targetUser%, %targerUserName% and %targerUserId% that we can later use.
3. Create a new subaction: Core → Logic → If/Else and check if %hasTarget% Equals True. Then if True, you can do whatever you want in the True Result section (and make use of the other target variables) and if False, whatever you want to do in the False Result section.
4. And you're done!
Note: If you want to return an item if it's only supposed to be used on a target (and had no target), you can add a Run Action subaction into the else condition of %hasTarget% and select the action [USER INVENTORY] [M] 7 - Return Used Item.


How do I check if a user has a certain item in their inventory?

1. Create a new action.
2. Create three new subactions: Core → Arguments → Set Argument. Check the [USER INVENTORY] [M] 5 - Check If User Has Item action what those arguments are called: targetUserName, itemName and itemAmount.
3. In our example, we have a '!timeout' command want to check if the target has a Trap Card in their inventory to potentially repel the timeout command.
4. So the Value for targetUserName will just be %rawInput%, because the the redeemer enters the name of our target as the command input. Our itemName is Trap Card and our itemAmount is 1.
6. Create a new subaction: Core → Actions → Run Action and place it below the Set Argument subactions.
7. Select the action [USER INVENTORY] [M] 5 - Check If User Has Item and check Run Action Immediately.
8. Running the action will populate the variable %hasItem% that is either True or False. So you can then create a new subaction Core → Logic → If/Else and check if %hasItem% Equals True. Then if True, you can do whatever you want in the True Result section and if False, whatever you want to do in the False Result section.


How do I create a loot table?

1. Open the Settings UI and head to the Loot Tables tab.
2. Enter a name for the loot table, for example Chest (Epic). This will then later be used in the [USER INVENTORY] [L] 1 - Loot Random Item action to determine which pool the random item is being looted from.
3. You can now start adding the items you have previously created in the Items tab. Give them any amount you want and then the chance for them to be looted. Can be decimal numbers as well. Just make sure all items add up to exactly 100% for the table.
1. Hit Save and you are done.

How do I create a random loot action and assign one of my loot tables?

1. Create a new action.
2. Create two new subactions: Core → Arguments → Set Argument. Check the [USER INVENTORY] [L] 1 - Loot Random Item action what those arguments are called: targetUserName and lootTableName.
3. In our example, we have a '!loot' command that users can redeem once per stream to get a random item from our loot table called Daily Loot Chest (we already created that one in the Loot Tables tab of our Settings UI)
4. So the Value for targetUserName will just be %userName%, because the the redeemer also is our receiving target. Our lootTableName is Daily Loot Chest and has to exactly match whatever we defined in our loot tables.
6. Create a new subaction: Core → Actions → Run Action and place it below the Set Argument subactions.
7. Select the action [USER INVENTORY] [L] 1 - Loot Random Item and check Run Action Immediately.
8. And then you are done. You can run the command and you will loot a random item of that loot table. Note: This action also populates some variables you can use afterwards: %lootedItemName%, %lootedItemAmount% and %lootedItemChance%.


How do I setup a Trap Card effect?

For this, we will make use of the targeted item effect + item in inventory check explained above. In our example, we'll have an item called Ban Hammer that allows to timeout a user for 10 seconds. But if the target happens to have a Trap Card in their inventory, it will timeout the redeemer instead.
So we first check if the Ban Hammer usage had a target. And then if our target has a Trap Card. And then act accordingly for each result. For all the details, check the screenshot.


CHANGELOG
Date Changes Version
July 03, 2025 Added a new action to return a used item; added a button to the settings UI that clears all unlisted items from all user's inventories; fixed a bug where the selected chat response type wouldn't apply; fixed a bug where items without any name (blank spaces) were listed in the item list response 1.0.8
June 28, 2025 Fixed a bug with decimal loot probalities for cultures with comma decimal separators (requires dll update) 1.0.7
June 25, 2025 Moved Sale/Purchase Exclusion to Items tab; added Usage exclusion; added Item Description; added command to fetch item description 1.0.6
June 25, 2025 Refined the refresh buttons in the Settings UI (requires dll update). 1.0.5
June 23, 2025 Fixed an issue where the Settings UI wouldn't launch on the initial setup. 1.0.4
June 21, 2025 Added a sale and purchase exclusion list on the General tab of the settings menu. 1.0.3
June 21, 2025 Added a method to buy items for their value; added a method to post all available items to chat. 1.0.2
June 18, 2025 Bumped the required dll version from 1.2.4 to 1.2.5 due to a little bug when hitting 'Save' instead of 'Save And Exit' and clearing the item list. 1.0.1
June 18, 2025 Release 1.0.0